
Ultrasonic Cleaner

An efficient tool to clean plugged carburetor internals, as well as other small parts
A friend of mine recently got a great deal on two motorcycles as the result of an estate sale: a 2003 Harley Super Glide and a 1997 Kawasaki Vulcan 800. While both bikes are in good condition, neither has run in about 10 years. He plans on keeping the Super Glide, but will be selling the Vulcan (I’d do the same…), so we started working on that one.
The seller did not know the maintenance history of the bikes, nor whether they had been properly stored when put away a decade ago — draining the fuel, fogging the cylinders, etc. However, the bikes had been stored in a heated garage. We therefore assumed that they probably hadn’t been stored correctly, but that they would nonetheless be in good condition because they hadn’t spent a decade outdoors.
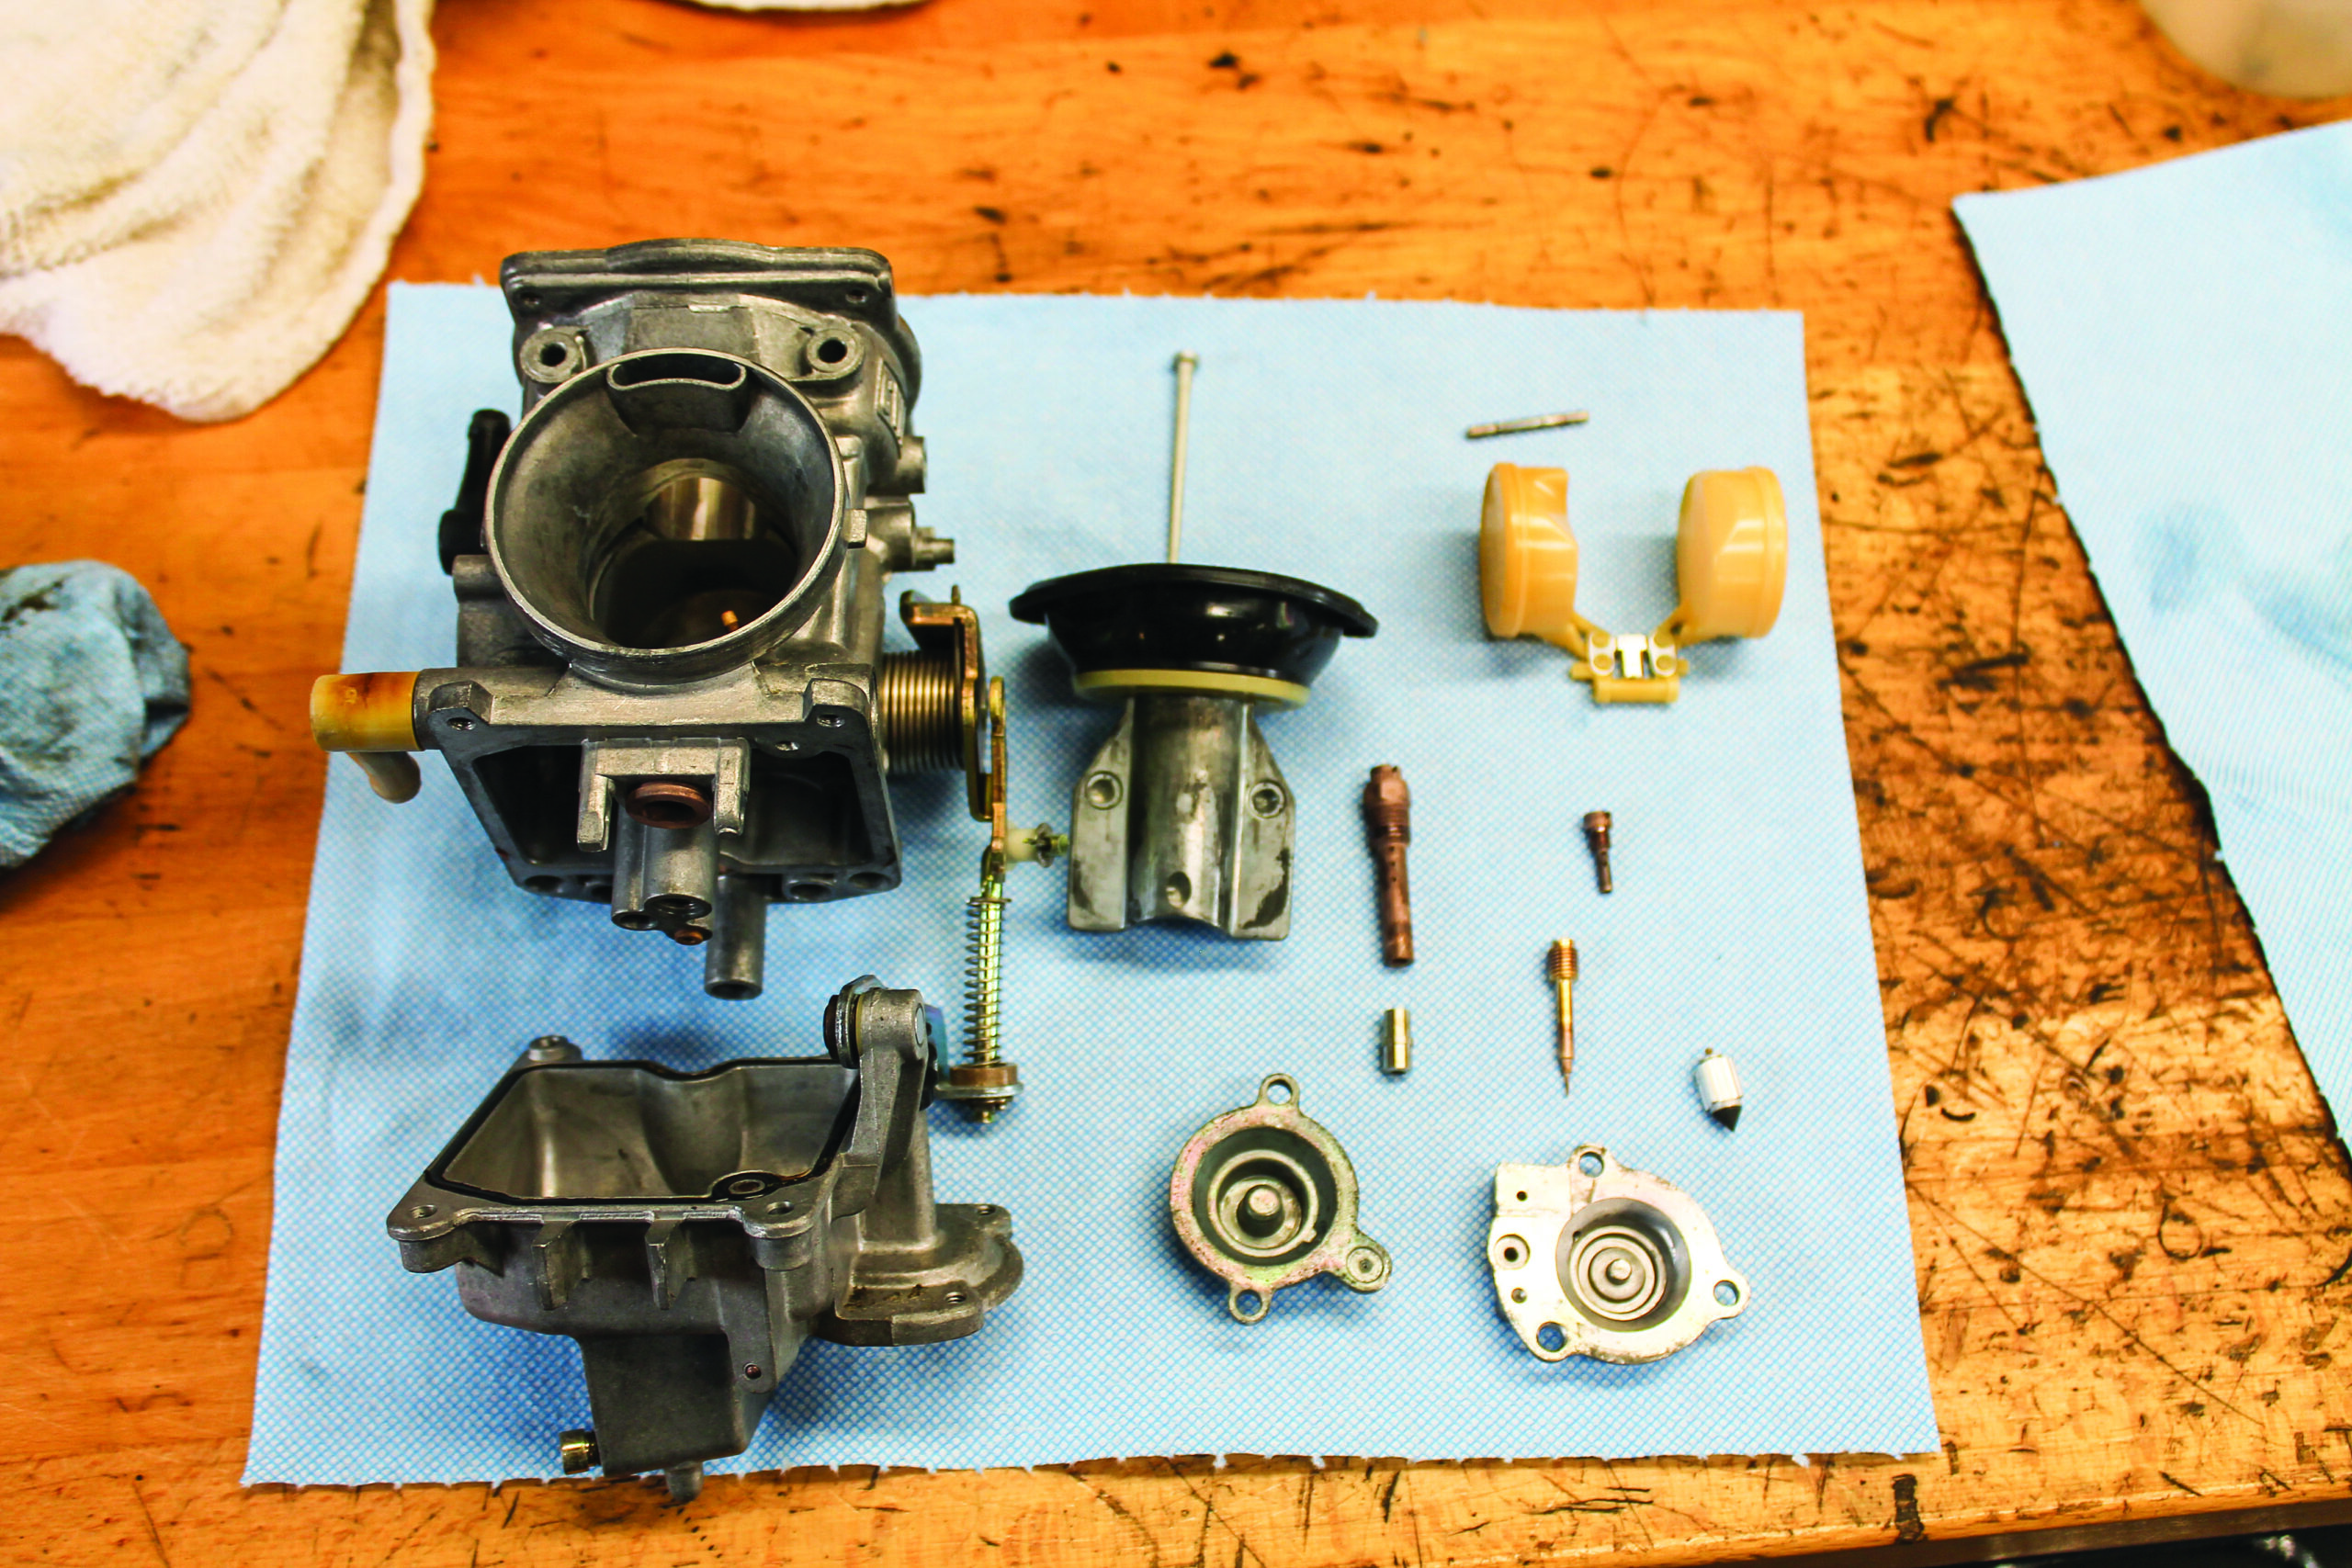
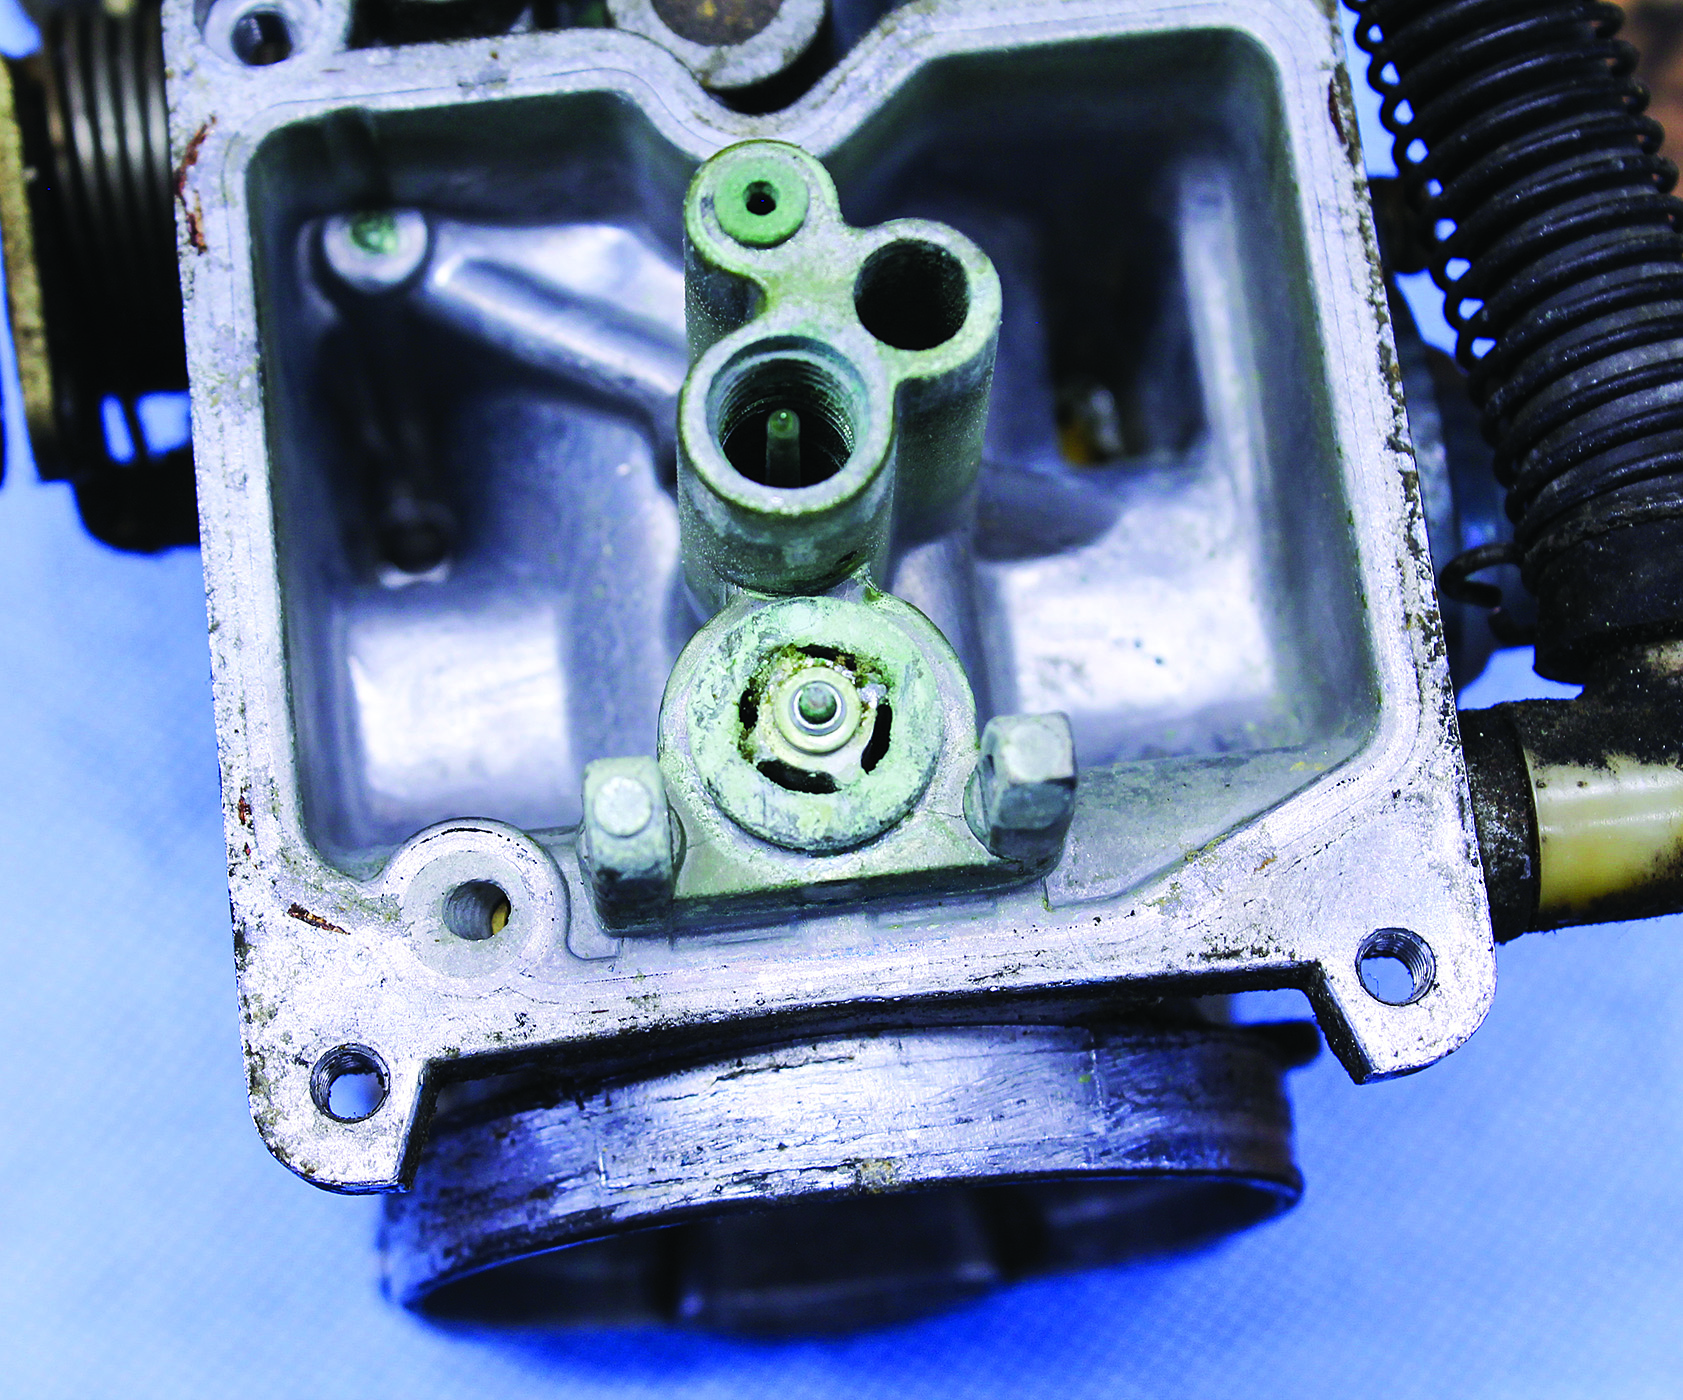
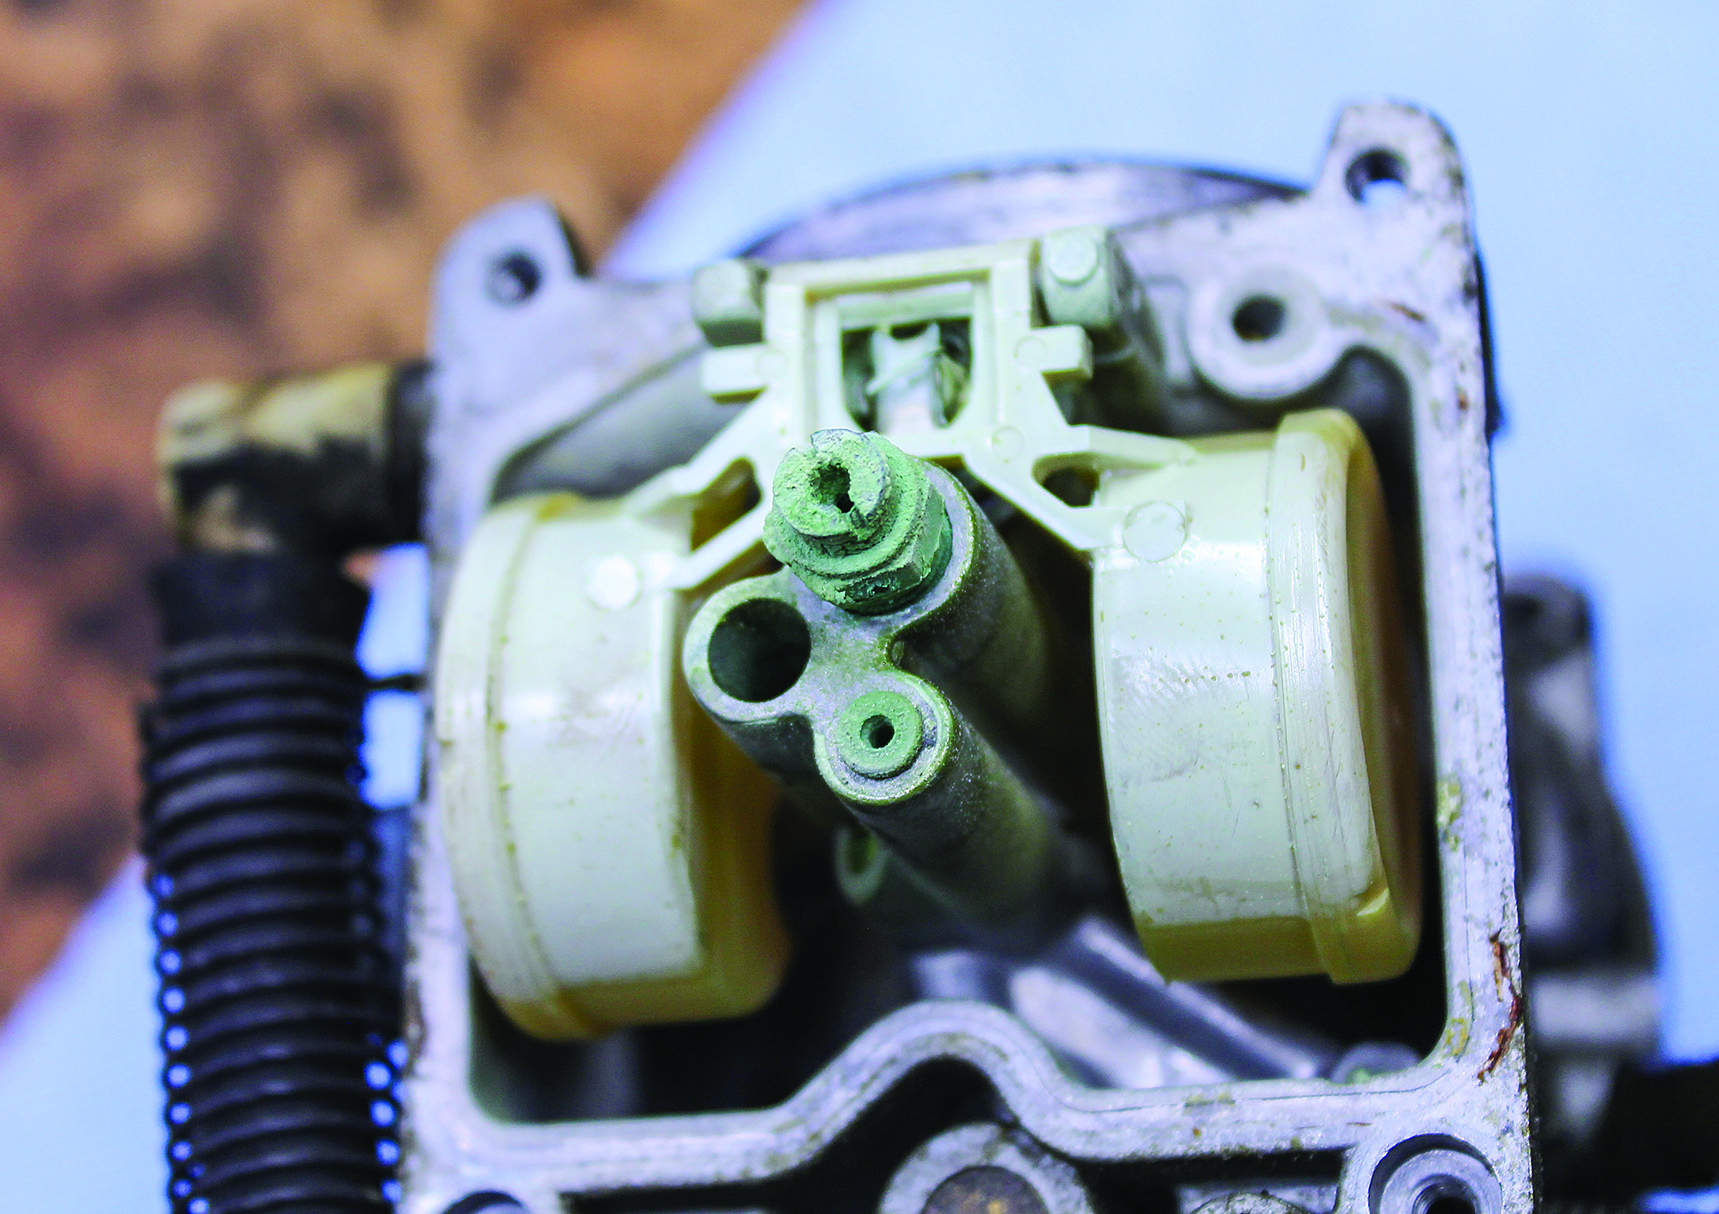
The first thing we tackled was the Vulcan’s fuel system; a decade of dormancy would have wreaked havoc on it. A look into the Vulcan’s fuel tank revealed that it was completely dry and in good condition — maybe the bikes had been stored properly after all. That proved not to be the case. Once the carburetor was removed, the lack of pre-storage prep became evident: a thick, hardened crust of long-rotted gasoline coated the jets, blocked internal passages, and jammed the float needle into its seat.
While light carb deposits are relatively easy to remove with a brush, and the inside of jets can be cleaned with solvent and compressed air, it is very difficult to clear the small passages bored into the carburetor body, especially if the buildup has solidified. This hardened crust would need a more effective removal strategy. That strategy included using an ultrasonic cleaner.
My ultrasonic cleaner was given to me by a friend, but they are readily available and affordable, and can be found online from about $50 to $250 depending on the capacity. My 6.5-litre unit can fit a couple of carburetor bodies at a time (I have to disassemble inline four carbs), and it cost about $120.
An ultrasonic cleaner has a container in which you add a cleaning solution, which is then bombarded with high-frequency sound waves. The sound waves agitate the cleaning solution, forming tiny cavitation bubbles that burst when they come into contact with whatever is being cleaned. This bursting action combines with the cleaning solution, which softens up the contaminant and removes the crud entirely.
Sound frequency ranges from 40 to 60 kHz; higher frequencies create smaller bubbles, which can get into very tight spots, but it takes longer. My 40-kHz cleaner is more than adequate for the type of work I do. Some ultrasonic cleaners, like mine, also heat the fluid, which further softens contaminants.
I already had a smaller ultrasonic cleaner to clean watch parts (watch repair is a hobby of mine), which I had also used successfully to clean carburetor parts. This larger one is more powerful, and I can fit larger parts into it. I have tried many cleaning solutions, including dishwashing liquid and water, acetone, lighter fluid, vinegar and water, and a few other home-brewed recipes. Some of them worked well, but none of them were as thorough as the dedicated ultrasonic cleaning solution I use now. This specialized solution is water-based, it doesn’t create toxic fumes, it doesn’t harm plastic or rubber, and it works wonders. There are several brands you can buy online; I use Allstar Performance 10644. The price is about $60 for a one-gallon jug.
To save on cleaning solution, for small parts I fill the tank with water and place the cleaning fluid and parts in a glass jar. The water and glass jar do an excellent job of transferring the high-frequency vibrations into the cleaning solution. If I have to clean larger parts I pour the solution directly into the ultrasonic cleaner, but once I’m done, I filter the used solution with a cheesecloth and reuse it.
After the carburetor was taken apart, I placed all the parts into the ultrasonic cleaner with the cleaning solution at full strength (it can be diluted with water). I set the timer to 20 minutes and the heat to 40 degrees Celsius.
The ultrasonic cleaner bussed away, and when the timer ran out, the parts came out looking almost like new. Clogged jets cleared up, and the float needle cleaned up and worked its way out of its seat. The cleaning solution made the aluminum carburetor body look almost pristine, but it did darken the brass jets and main nozzle. This had no effect on the carb’s operation, but you should test parts in the solution before cleaning them, especially if they are aesthetic parts. After rinsing all the parts with water and blowing them dry, I assembled and installed the carburetor. The bike fired up immediately.
Now that we’re done with the Vulcan, next up is the Harley’s carburetor.


Thanks for Reading
If you don’t already subscribe to Motorcycle Mojo we ask that you seriously think about it. We are Canada’s last mainstream motorcycle magazine that continuously provides a print and digital issue on a regular basis.
We offer exclusive content created by riders, for riders.
Our editorial staff consists of experienced industry veterans that produce trusted and respected coverage for readers from every walk of life.
Motorcycle Mojo Magazine is an award winning publication that provides premium content guaranteed to be of interest to every motorcycle enthusiast. Whether you prefer cruisers or adventure-touring, vintage or the latest models; riding round the world or just to work, Motorcycle Mojo covers every aspect of the motorcycle experience. Each issue of Motorcycle Mojo contains tests of new models, feature travel stories, compelling human interest articles, technical exposés, product reviews, as well as unique perspectives by regular columnists on safety or just everyday situations that may be stressful at the time but turn into fabulous campfire stories.
Thanks for considering a subscription. The Mojo team truly appreciates it.
